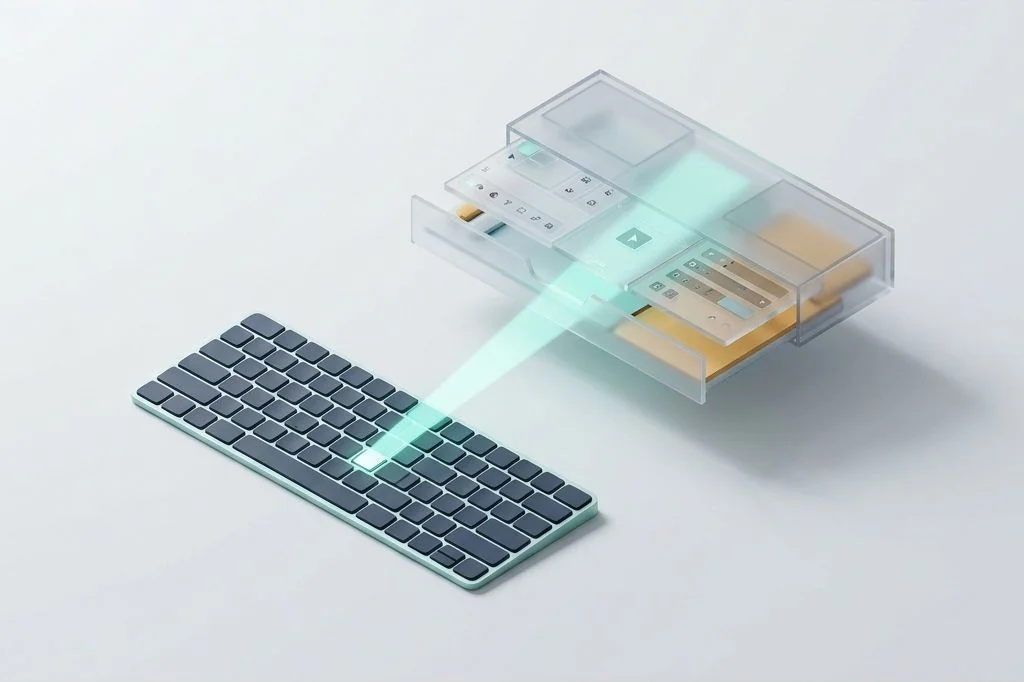
Imagine you are typing an important report or writing code. You need to connect your wireless headphones, trigger a VPN toggle, or check an item on your clipboard. Your instinct is to stop typing, lift your right arm, grab the mouse, drag the cursor all the way to the top right corner of your display, and click a tiny sixteen-pixel icon. When you run a minimalist setup with hidden icons, you have to click an arrow first just to see the menu. Implementing keyboard shortcuts for accessing hidden menu bar extras bridges this gap, allowing you to summon and navigate your concealed tools with a single stroke without moving your hands from the home keys.
Key Takeaways
Here are the core principles for accessing menu bar extras through your keyboard:
- Reaching for top bar icons with a mouse is like standing on a ladder every time you need a pencil from a high ceiling shelf.
- Native macOS shortcuts allow you to navigate the entire status area using arrow keys without installing third-party tools.
- Modern menu managers allow you to map a dedicated global hotkey to reveal hidden drawers and trigger secondary icons instantly.
- Eliminating repetitive arm reaches preserves physical wrist stamina and prevents cognitive focus fragmentation throughout the day.
The High Ceiling Shelf Metaphor
To understand why mouse navigation to the menu bar feels so unnatural, picture your physical workstation. On your desk, you have your notebook and pen resting directly in front of you. Now imagine you store your stapler, scissors, and paperclips on a high wooden shelf mounted near the ceiling, seven feet above the floor.
Every time you need to staple two pages together, you must push back your chair, stand up, step onto a stepladder, reach up with your fingers, grab the stapler, step down, and staple the paper. The physical transit takes five seconds. More importantly, it completely resets your train of thought. You were in the middle of a sentence, and now you are standing in the middle of the room holding a stapler.
Navigating to the top right corner of a large external monitor with a mouse pointer is the digital equivalent of that stepladder. Your arm leaves the keyboard, your eyes leave the paragraph, and you hunt for a tiny icon across twenty-seven inches of glass. Adopting practical digital efficiency principles means installing a lightweight pulley cord that drops the stapler right into your hands the moment you need it.
Native macOS Keyboard Navigation: Meet Control-F8
Many experienced Mac users are astonished to learn that Apple built a comprehensive keyboard navigation system for the menu bar directly into macOS decades ago. Apple documents full system keyboard accessibility in their official Apple Mac keyboard navigation manual.
When you press Control and F2 (or Control-Fn-F2 on compact laptop keyboards), macOS instantly moves keyboard focus to the Apple menu in the top left corner. You can use your Left and Right arrow keys to jump between File, Edit, View, and Help, and press Return to open any menu item without touching the mouse.
Even more powerful is Control and F8. Pressing Control and F8 instantly sends keyboard focus directly into the menu bar extras on the far right. A subtle highlight box appears around your first status icon. You can navigate between your battery gauge, Wi-Fi status, Control Center, and third-party helpers using the Left and Right arrow keys, hit the Spacebar to open the drop-down menu, and use the Down arrow to select actions. This gives you full keyboard control over every single utility in your top strip.
Architectural Comparison: Mouse Pointing vs Keyboard Hotkeys
Comparing the mechanical properties of mouse reaching versus dedicated keyboard shortcuts illustrates the efficiency gains over thousands of daily interactions.
| Navigation Method | Physical Motion Required | Average Execution Time | Impact on Focus State |
|---|---|---|---|
| Mouse Reach to Top Bar | Arm leaves home row; guides cursor across display | 2.0 to 3.5 seconds | High disruption; eyes track cursor across screen |
| Native System Navigation (Ctrl-F8) | Keystroke combo followed by arrow keys | 0.8 to 1.2 seconds | Low disruption; hands remain on home row |
| Dedicated Menu Manager Hotkey | Single global key combination (e.g., Option-B) | 0.3 to 0.5 seconds | Near zero disruption; instant dropdown reveal |
| Direct Palette Action Query | Summon launcher bar and type utility name | 0.4 to 0.7 seconds | Zero disruption; pure muscle memory workflow |
Notice the massive speed advantage of dedicated hotkeys. If you run a collapsible menu manager, you can bind a single key shortcut to expand your hidden drawer. When you need to see your secondary utilities, tap your shortcut; the drawer slides open, and pressing the shortcut again tucks it away. If you are configuring a collapsible tool on a laptop, our guide on collapsible menu bar managers for notch screen macbooks explains how to position icons so they never collide with the hardware cutout.
Setting Up Dedicated Single-Stroke Hotkeys
While native Control-F8 navigation is universally dependable, configuring dedicated hotkeys for your three most frequent status utilities provides the ultimate in frictionless speed. Follow these three design rules when mapping your keyboard shortcuts:
Rule 1: Use memorable modifier prefixes
Assign a consistent modifier key like Option or Control for all menu bar interactions. For example, map Option-V to toggle your VPN connection, Option-C to expand your calendar dropdown, and Option-B to toggle your hidden menu bar drawer. When your brain associates Option with top bar controls, your fingers move automatically without hesitation.
Rule 2: Separate status tools from ephemeral actions
Do not crowd your shortcut memory with tools you only inspect once a month. Reserve dedicated key triggers for items you interact with multiple times per day. Understanding the architectural difference is detailed in our article on separating persistent status indicators from ephemeral tools, which helps you establish an intentional hierarchy.
Rule 3: Leverage fuzzy search in your central command bar
For utilities that you only access occasionally – such as checking a color hex picker or configuring an audio interface – do not create a permanent keyboard shortcut. Instead, use your central command launcher. Summon your launcher with Command and Space, type the first three letters of the tool, and hit Enter. The menu bar extra drops down instantly without requiring you to remember thirty complex key combinations.
Frequently Asked Questions
Why doesn’t Control-F8 work on my Mac keyboard?
On Apple laptops, top row keys default to hardware functions like screen brightness and volume. To use function keys, you must either hold down the Fn (Globe) key while pressing Control and F8, or enable “Use F1, F2, etc. keys as standard function keys” inside your macOS Keyboard settings.
Can I assign a keyboard shortcut to a third-party menu icon that lacks native hotkeys?
Yes. Capable menu bar managers allow you to assign custom global hotkeys to any status item, even if the original application developer never included keyboard shortcut support in their settings.
Will keyboard navigation reveal icons hidden inside a collapsed drawer?
When you navigate with Control-F8, macOS highlights only currently visible icons. However, pressing your menu manager toggle hotkey expands the drawer first, allowing you to arrow through your entire collection of hidden utilities seamlessly.
Mastering keyboard shortcuts for your menu bar extras transforms your interaction with macOS. By eliminating clumsy mouse movements to the top edge of your screen, your hands remain centered, your body stays relaxed, and your attention stays anchored firmly to your creative work.