When you want to keep your digital desk clean, you eventually reach a fork in the road between two distinct philosophies. One philosophy asks a smart robot to arrange every single plate and cup on your table automatically the second you set it down. The other philosophy gives you a set of magnetic trays, letting you snap items into place whenever you choose. Exploring tiling window manager macos concepts reveals how these contrasting systems shape your attention, your typing flow, and the overall feel of your daily workspace.
Key Takeaways
Here is how automatic tiling contrasts with manual window snapping on Mac:
- Automatic tiling acts like a smart sliding puzzle where every open application immediately claims a slice of glass.
- Manual snapping functions like magnetic building blocks, leaving windows floating until you deliberately press a key to dock them.
- Tiling eliminates overlapping windows entirely but requires learning navigation rules and strict window hierarchies.
- Snapping offers greater flexibility for floating utility dialogs, quick calculator popups, and transient notes.
- Choosing the right model depends on whether your daily work involves deep continuous coding or rapid multi-app context switching.
The Sliding Tile Puzzle Metaphor
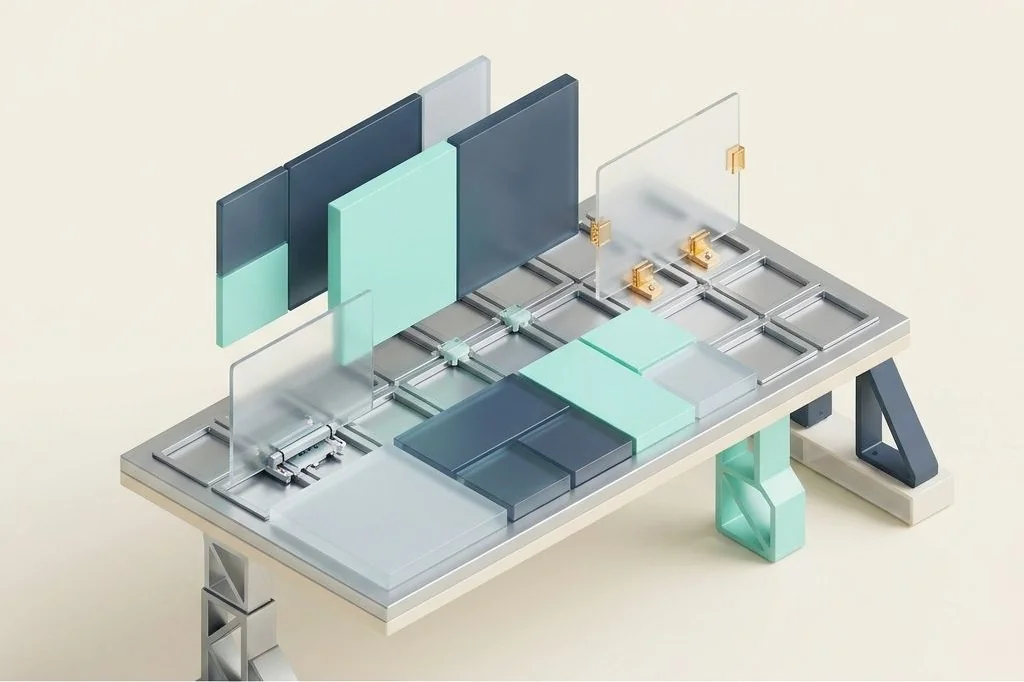
Think of an automatic tiling window manager like a wooden sliding number puzzle. In that puzzle, there are no empty gaps or overlapping tiles. When you add a new tile, the existing pieces automatically shrink and shift sideways to make room. If you close a tile, the remaining pieces expand to fill the vacated space instantly. The board is always completely full, geometrically balanced, and rigidly structured.
Manual snapping, by contrast, is like having a standard wooden desk with magnetic snap lines drawn on the surface. When you open a notebook, it lands on your desk wherever you drop it. If you want it neatly aligned, you push it toward the left edge, and it locks firmly into place with a satisfying click. You maintain complete control over which items lock down and which items float loosely on top. This fundamental distinction influences how you organize digital tools across ezefficiency.com.
How Automatic Tiling Works on macOS
In a pure tiling setup, the operating system never permits floating windows to sit on top of each other. Every time an application launches, the system calculates the available screen coordinates and splits the active pane either vertically or horizontally. A single window occupies one hundred percent of the display. Launching a second application cuts the display into two fifty-percent columns. A third application might split the right column into two quarters.
This layout style offers immense benefits for text-heavy tasks. Because windows never overlap, you never lose sight of a running process, a compiling terminal, or a live documentation pane. However, macOS was fundamentally designed around floating windows, which means certain system popups, file pickers, and preference panels can feel awkward when stretched into rigid tiles. To understand how to handle these rogue dialogs, explore our guide on managing floating dialogs and modal popups in tiling environments.
The Strengths and Pitfalls of Pure Auto-Tiling
Auto-tiling appeals strongly to technical users who crave mechanical order and zero manual manipulation. When properly configured, it delivers several distinct advantages:
- Zero mouse dependency: You navigate between open panes using directional keyboard commands rather than hunting for miniature title bars with a cursor.
- Deterministic geometry: Every pane sits exactly where the layout algorithm places it, making your screen layout predictable and reproducible.
- Maximized canvas efficiency: Gaps between windows can be dialed down to zero pixels, squeezing every square millimeter of utility out of your monitor.
Yet auto-tiling also introduces real friction points. When an unexpected modal dialogue launches – such as a password prompt or file save box – the tiling engine may attempt to tile that tiny box across half your screen. Managing exclusion rules and configuring layout exceptions can quickly become an ongoing hobby rather than a productivity boost.
Why Manual Snapping Remains the Pragmatic Choice
For most everyday knowledge workers, manual snapping provides ninety percent of the benefits of auto-tiling without any of the configuration friction. With a snapping utility running silently in the background, your Mac behaves normally until you decide to invoke order.
You can drag a window toward an edge to snap it into a half or quarter, or press a dedicated global keystroke to lock it instantly. If you need a temporary floating calculator, you simply leave it floating in the center of your screen without fighting an automatic layout engine that tries to force the calculator into a gigantic fifty-percent pillar. This pragmatic balance prevents configuration rabbit holes while maintaining a spotless desktop. Pair this with our foundational principles in macos window management architecture to build a calm daily routine.
Evaluating Your Daily Task Profile
Choosing between these two models comes down to the nature of the software you use each day. I categorize typical computer workloads into two broad groups:
The terminal and editor centric profile
If ninety percent of your day takes place inside plain-text tools – such as code editors, markdown note apps, and command terminals – automatic tiling provides an unbeatable rhythm. Text editors scale gracefully to almost any window dimension, and their content wraps cleanly regardless of whether the pane occupies a quarter, a third, or a half of the screen.
The multi-media and browser heavy profile
If your work involves design tools, video preview monitors, dynamic web dashboards, and collaborative spreadsheets, automatic tiling often breaks down. Many modern websites require a minimum width of roughly one thousand pixels to render navigation sidebars properly without collapsing into cramped mobile views. For this workflow, manual half-screen or two-thirds snapping preserves layout integrity without visual distortion. Discover how to control these hotkeys effortlessly in our guide on building a frictionless keyboard first window system on mac.
System Integration and System Stability
When implementing these utilities on macOS, stability and system security are paramount. Modern versions of macOS enforce strict accessibility permissions to protect user input, as detailed in the Apple Developer Accessibility Documentation. Both tiling engines and snapping helpers require accessibility privileges to reposition third-party application windows on your behalf.
Lightweight snapping tools generally use native system APIs without modifying system binaries or disabling System Integrity Protection. Some advanced tiling managers, conversely, require deeper hooks to capture window creation events instantly. Choosing tools that operate strictly within sanctioned accessibility layers ensures seamless software updates and rock-solid system stability.
Frequently Asked Questions
Can I combine auto-tiling with floating windows on Mac?
Yes. Most modern tiling managers support floating rules, allowing you to designate specific apps like system settings, photo editors, or calculators to remain floating while your main editors tile automatically.
Does automatic tiling drain more battery than snapping?
The energy difference is tiny, but automatic tiling managers constantly listen for window creation and destruction hooks, which can cause micro-wakeups. Lightweight snapping utilities remain completely idle until you trigger a hotkey, making them slightly gentler on portable battery life.
Is learning an auto-tiling manager difficult for beginners?
It requires a distinct learning curve because you must retrain your instincts from pointing and clicking to navigating via keyboard coordinates. Starting with a simple snapping tool is usually the smoothest path before exploring full automatic tiling.
Whichever path you choose, adopting deliberate window boundaries banishes the chaotic desktop pile forever, letting you build a workspace where clarity and speed work hand in hand.