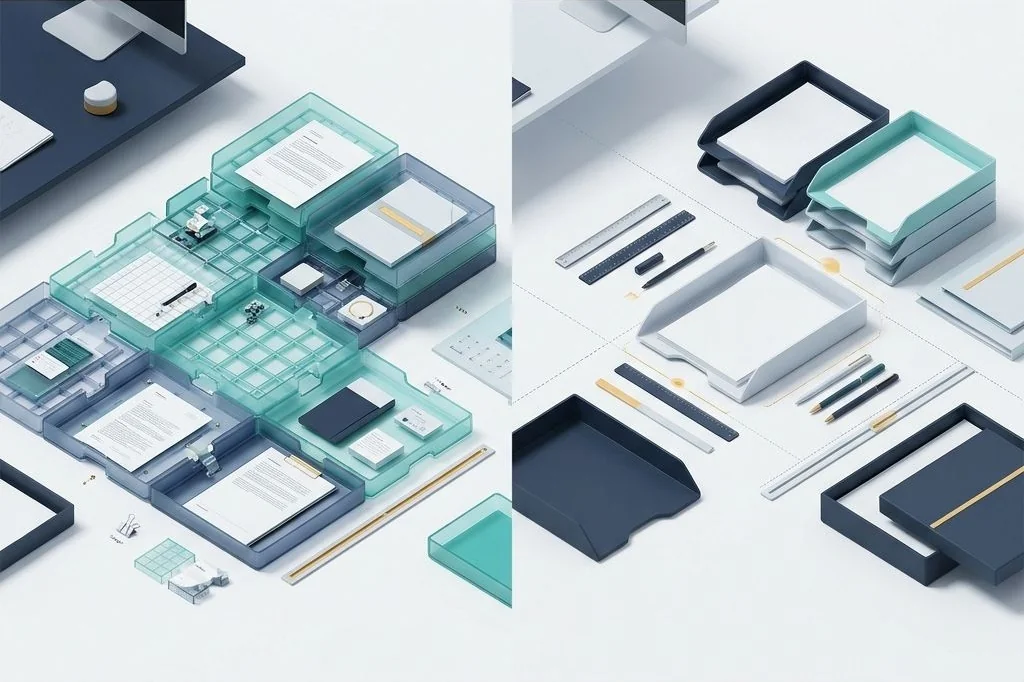
Think about how you organize the silverware drawer in your kitchen. One way is using an automatic divided tray where every fork, butter knife, and spoon drops into its own custom slot the instant you place it inside. The other way is an open drawer where you pick up each fork and push it carefully into the corner with your fingers, hoping it stays straight when you slide the drawer shut. Both approaches keep your utensils from scattering into a messy pile, but the divided tray does the sorting work for you. Choosing between automatic desktop tiling vs manual window snapping presents the exact same choice for your daily computer workspace.
Key Takeaways
Here are the core differences to help you select your ideal desktop layout style:
- Manual snapping relies on you pulling windows to screen corners with a mouse or simple arrow key commands.
- Automatic tiling acts like a smart jigsaw puzzle that recalculates every window size the moment a new app opens.
- Snapping works best for casual multitasking where you occasionally compare two documents side by side.
- Tiling excels for deep, heavy work sessions where you need four or five reference panes visible without overlapping borders.
- A hybrid setup lets you enjoy automatic alignment while keeping floating dialog boxes flexible when needed.
Understanding the Mechanics of Manual Snapping
Manual snapping is the built-in system you encounter on most modern operating systems. When you drag a window toward the left or right edge of your monitor, a faint transparent outline appears. Releasing the mouse button causes the window to lock into that half of the screen. Tools like Microsoft Windows Snap Assist guide your hands by showing thumbnails of your remaining open apps to fill the opposite side.
This method feels intuitive because it mimics physically placing a notebook on the left side of your wooden desk and a calculator on the right side. You have complete control over which window moves and when it moves. However, manual snapping requires physical intervention for every single app you open. If you open a third app, it lands on top of your existing panes, breaking your neat arrangement until you manually drag it into a quarter-screen slot.
For casual computer users writing an email while watching a video, manual snapping provides plenty of structure. But for power users managing research documents, communication streams, and terminal consoles simultaneously, all that repetitive mouse nudging adds up to hours of wasted movement each month. Over time, that constant fiddling creates visual noise that distracts from pure creative thinking.
How Automatic Tiling Works Like a Dynamic Puzzle
Automatic tiling operates on a fundamentally different philosophy inspired by minimalist computing environments documented in the history of the tiling window manager. Instead of treating your screen as a deep bin where windows float and overlap like loose sheets of paper, an automatic tiler treats your display as a living mosaic.
Imagine your screen is a big sheet of dough. When you open your first application, it expands to fill the entire sheet. When you open a second application, the tiler cuts the dough in half down the middle, giving each app exactly fifty percent of the space. Open a third app, and the tiler neatly divides one of those halves into two equal quarters. Not a single pixel of screen real estate is wasted, and zero windows ever overlap.
When you close an application, the remaining tiles seamlessly stretch to reclaim the vacant space, just like water filling an empty hole. You never have to resize borders, hunt for buried title bars, or drag corners with a tiny mouse cursor. Everything stays in plain sight, perfectly locked into a geometric grid. Exploring modern desktop efficiency methods helps clarify how treating screens as structured grids preserves mental clarity.
| Feature Comparison | Manual Window Snapping | Automatic Desktop Tiling |
|---|---|---|
| Initial Setup Friction | Zero configuration; works instantly out of the box | Requires learning hotkeys and basic layout rules |
| Mouse Dependence | High; relies on dragging borders and window headers | Near zero; managed entirely through keyboard commands |
| Handling New Windows | Opens randomly over existing content | Instantly docks into the active grid hierarchy |
| Screen Space Utilization | Leaves uneven gaps if apps are positioned loosely | Guarantees 100% coverage with zero overlap |
| Best Workflow Match | Casual reading, single-app tasks, mixed media | Coding, data analysis, deep writing research |
Evaluating Cognitive Load and Friction
Every time you resize a window by dragging its corner, your brain pauses its creative thinking to perform spatial calibration. You ask yourself: Is this window wide enough? Does it cover the chart behind it? Can I still see my chat notifications? These tiny micro-pauses seem trivial in isolation, but over an eight-hour workday, they create subtle mental fatigue known as decision fatigue.
Automatic tiling removes that background friction entirely. By establishing mathematical rules for how apps divide the screen, your computer makes those placement choices for you. When combined with lightweight window management for multi monitor desktop setups, automatic tiling creates a calm, predictable visual rhythm across all your physical screens.
Furthermore, because tiling systems favor keyboard shortcuts over mouse aiming, you can master keyboard driven window management for faster desktop workflows to swap active panes, cycle layouts, and close background tasks without your fingers ever leaving the home row keys.
Designing a Balanced Hybrid Workflow
You do not have to commit entirely to rigid grids or chaotic floating windows. The most productive desktop setups often blend the best elements of both worlds into a balanced hybrid workflow:
- Tile the Heavy Lifters: Keep your main content creators – such as text editors, browsers, and terminal panels – strictly locked into automatic tiles.
- Float the Transients: Allow temporary tools like calculators, password managers, and file copy progress bars to float freely in the center of the display.
- Use Zone Snapshots: Set up preset hotkeys that toggle between a two-column reading mode and a three-column research mode with a single stroke.
- Preserve Margin Breathing Room: Add small five-pixel gaps between tiled panes so your eyes can easily distinguish where one document ends and another begins.
Frequently Asked Questions
Will automatic tiling make my windows too small to read?
Only if you open too many windows on a single monitor. Just as you would not cram ten physical books onto a tiny coffee table, you should not pack eight active tiles onto a single laptop screen. Capable tiling tools let you group excess windows into virtual tabs or push them to secondary virtual desks so each open pane remains roomy and comfortable to read.
Can I still use my mouse with an automatic tiling manager?
Yes. While tiling window managers are optimized for rapid keyboard control, modern tools allow you to click and drag boundary lines to adjust column widths smoothly with your mouse whenever you prefer manual fine-tuning.
Which approach is better for creative design apps like Photoshop?
Creative design applications that rely on multiple floating tool palettes and large central canvases generally perform better with manual snapping or dedicated full-screen modes. Automatic tiling is primarily engineered for document editing, programming, research, and structured text workflows.
Matching your window management model to your daily work habits transforms how your computer feels under your fingers. Whether you choose the dynamic precision of automatic tiling or the casual flexibility of manual snapping, establishing clear visual boundaries keeps your desktop tidy and your focus razor-sharp.